How to Descale a Smart Refrigerator Water Dispenser?
On this page (7 sections)
The easiest way to descale a smart refrigerator water dispenser is by using a mild acid solution, like white vinegar or lemon juice, mixed with water. This solution helps to dissolve mineral buildup that causes clogs and slow water flow in your dispenser. You’ll typically run this mixture through the system, let it sit, and then flush it with clean water.
Mineral deposits, primarily from hard water, can accumulate in your refrigerator’s water lines and dispenser over time. For more dispenser care, see our guide to cleaning a fridge dispenser nozzle. This buildup can reduce water pressure, affect water taste, and even lead to your dispenser stopping completely. Regular descaling keeps your water fresh and your appliance working smoothly, extending its lifespan.
- Use a vinegar or lemon juice solution to descale.
- Flush the system thoroughly with clean water afterward.
- Descaling prevents mineral buildup and clogs.
- Regular cleaning improves water taste and dispenser function.
- It helps maintain your refrigerator’s lifespan.
Below, we’ll walk you through the simple steps to effectively descale your smart refrigerator’s water dispenser, ensuring you always have refreshing, clean water on demand.
Cleaning Your Smart Refrigerator Water Dispenser: A Guide
Maintaining your smart refrigerator’s water dispenser is simpler than you might think. We’re here to guide you through the process. Regular cleaning ensures you always have For a comprehensive guide on maintaining your appliance, our article on cleaning your smart refrigerator offers additional tips.fresh, great-tasting water.
Think of it like cleaning your coffee maker. If you are comparing dispenser styles, see our guide to internal vs external dispensers. Mineral deposits can build up over time. These deposits affect performance and taste. Let’s get that dispenser sparkling clean!
Gathering Your Descaling Arsenal
Before you begin, you’ll need a few common household items. These supplies are likely already in your pantry. Having everything ready makes the process go smoothly.
What You’ll Need
You don’t need fancy tools for this job. Basic items are often the best. Here’s a quick checklist of what to gather:
- White vinegar or lemon juice (food-grade citric acid works too).
- A large container or pitcher (at least 2 quarts/liters).
- Several clean towels or a sponge.
- A soft brush or old toothbrush (optional, for stubborn spots).
- Measuring cups.
- A clean bucket or basin.
We found that white vinegar is a popular and effective choice for descaling (NSF International).
Preparing Your Refrigerator
A little prep work goes a long way. This ensures safety and prevents messes. You want to protect your kitchen floor and nearby appliances.
- First, unplug your refrigerator. Safety is always paramount when working with appliances.
- Turn off the water supply to your refrigerator. Look for a small valve behind the unit or under the sink.
- Empty the ice maker bin if your model has one. You don’t want ice with a vinegar taste.
- Place towels or a shallow pan directly under the water dispenser. This catches any drips.
These initial steps take only a few minutes. They set the stage for a successful descaling.
Creating Your Descaling Solution
The right solution is key to dissolving those pesky mineral buildups. You want a mixture that’s effective but also safe for your appliance.
Vinegar vs. Lemon Juice: A Quick Comparison
Both vinegar and lemon juice are mild acids. They work well for descaling. Which one should you choose?
| Solution Type | Pros | Cons |
|---|---|---|
| White Vinegar | Stronger descaling power; Inexpensive; Widely available. | Distinctive smell that lingers; Requires thorough flushing. |
| Lemon Juice | Pleasant smell; Good for lighter buildup; Natural option. | Less potent than vinegar; More expensive; May need more for effectiveness. |
Many people prefer vinegar for its cleaning power. However, lemon juice is great if you’re sensitive to strong smells.
Mixing Your Descaling Agent
The ratio of descaling agent to water is important. You want it strong enough to work, but diluted enough to be safe. We found that a 50/50 mixture is typically ideal.
- For vinegar, mix 1 part white vinegar with 1 part warm water.
- For lemon juice, mix 1 part lemon juice with 1 part warm water.
- Use a large, clean pitcher for mixing.
For example, if you use 2 cups of vinegar, add 2 cups of water. Stir it gently to combine.
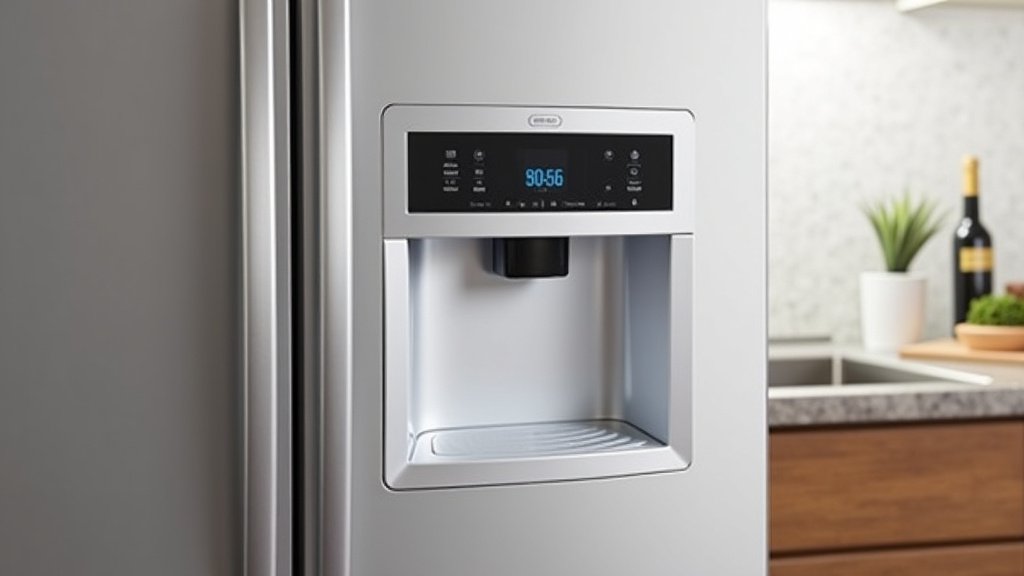
The Descaling Process: Step-by-Step
Now for the main event! Follow these steps carefully. They ensure a thorough cleaning without damaging your refrigerator.
Flushing with the Solution
This step gets the cleaning solution into the water lines. Be patient and mindful of spills.
- Carefully pour your descaling solution into the refrigerator’s water reservoir. Refer to your owner’s manual if you’re unsure where this is. Some models have external reservoirs, others internal.
- Place a large bucket or container under the water dispenser spout.
- Press the dispenser lever. Dispense the solution until you see it coming out. You’ll likely smell the vinegar or lemon.
- Continue dispensing until the reservoir is almost empty. Do not let it run completely dry.
You might need to dispense in stages. This ensures the solution fully coats the internal components.
The Waiting Game (Soaking Time)
The solution needs time to work its magic. This soaking period breaks down mineral deposits. It’s like letting a dish soak before scrubbing it.
- After dispensing the solution, let it sit in the lines for 2-4 hours.
- For heavy buildup, you can let it sit overnight. Always check your refrigerator’s manual for specific recommendations.
- This waiting period allows the acid to dissolve calcium and lime.
During this time, you can tackle other kitchen chores. Or simply relax and let your refrigerator do the work!
Rinsing and Flushing with Clean Water
This is a crucial step. You must remove all traces of the descaling solution. Otherwise, your water might taste like vinegar!
- Once the soaking time is over, remove any remaining descaling solution from the reservoir. You might need to use a clean towel or sponge for this.
- Refill the reservoir with fresh, clean water.
- Place your bucket under the dispenser again.
- Dispense several cups of clean water through the system. Empty and refill the bucket as needed.
- Repeat this flushing process at least 3-4 times. You want to ensure the water tastes clean and odorless.
Keep flushing until you can no longer smell or taste the descaling agent. This might take more than 3-4 flushes, depending on how much solution you used.
Post-Descaling Checklist and Maintenance Tips
You’ve successfully descaled your water dispenser! Now, let’s finish up and think about future maintenance. A little prevention goes a long way.
Final Steps for a Sparkling Dispenser
Almost done! These last few steps get your refrigerator back to normal operation.
- Reconnect the water supply to your refrigerator.
- Plug your refrigerator back into the power outlet.
- Empty and clean your ice maker bin (if applicable). Discard the first few batches of ice.
- Wipe down the exterior of the dispenser with a clean, damp cloth.
- Enjoy your fresh, clean water!
Keeping Your Dispenser Clean
How often should you descale? We found that this depends on your water hardness. If you have hard water, you might need to clean more often.
- Regular descaling: Aim for every 3-6 months if you have hard water. For soft water, every 6-12 months is usually sufficient.
- Filter changes: Always replace your water filter according to the manufacturer’s recommendations. This is typically every 6 months.
- Wipe-downs: Quickly wipe the dispenser spout and tray daily or weekly. This prevents surface mineral spots.
- Taste test: If your water starts tasting “off” or flow slows down, it’s probably time to descale again.
Many experts say that consistent, small efforts prevent bigger problems. Your smart refrigerator will thank you with clean, refreshing water for years to come.
Conclusion
Descaling your smart refrigerator’s water dispenser doesn’t have to be a chore. By following these simple steps, you can prevent mineral buildup and enjoy consistently fresh, clean water. Regular maintenance with common household items like vinegar or lemon juice protects your appliance and enhances your water quality. You’ve now got the knowledge to keep your dispenser running smoothly and efficiently. Make descaling a routine part of your home care, and you’ll always have refreshing hydration right at your fingertips.
Frequently Asked Questions
How often should I descale my smart refrigerator’s water dispenser?
You should descale your water dispenser every 3-6 months if you have hard water. If your water is softer, every 6-12 months should be sufficient. Pay attention to changes in water flow or taste as indicators.
Can I use other cleaning agents besides vinegar or lemon juice?
It’s best to stick to mild acids like white vinegar or lemon juice for descaling. Harsh chemical cleaners can damage your refrigerator’s internal components or leave harmful residues. Always check your appliance manual for specific recommendations.
What if my water still tastes like vinegar after flushing?
If you still taste vinegar, it means some solution remains in the lines. Continue flushing the dispenser with fresh, clean water. You may need to run several more gallons through the system until the taste and smell are completely gone.
Will descaling my water dispenser void my refrigerator’s warranty?
Descaling with approved methods and solutions, like diluted white vinegar or lemon juice, typically does not void your warranty. In fact, regular maintenance can help prevent issues. Always refer to your refrigerator’s owner’s manual for specific warranty details and recommended cleaning practices.
Can mineral buildup damage my smart refrigerator?
Yes, significant mineral buildup can restrict water flow, reduce water pressure, and even cause clogs or damage to the internal water lines and dispenser mechanism over time. Regular descaling helps prevent these issues, prolonging your appliance’s life.


